Here are some links to my online presence.
https://www.facebook.com/JettFeathers?ref=tn_tnmnhttp://www.behance.net/gallery/Paintings-and-Assemblage2010-
http://www.behance.net/gallery/Paintings-and-Assemblage2010-2012/6124901
2http://dynamicjett.blogspot.com/
http://thomasgreen.carbonmade.com/projects/3246896#2
Tuesday, April 30, 2013
These are some of the pieces that are not in my "final" project today, they have to be pieced in there sometime over the weekend and I will paste in the updated music.
Teal H264-vimeo HD encode from Thomas Green on Vimeo.
Teal H264-vimeo HD encode from Thomas Green on Vimeo.
Thursday, April 25, 2013
Meeting with Carrie Allison Brooke
Meeting with Carrie Brooks
I met with Carrie Brooks on Monday
April 8, 2012 to discuss my resume and several different strategies I might be
overlooking when I’m applying for an internship and also to go over some
interview techniques that might be helpful in obtaining jobs, residencies and
really just anything. They say that a first date is actually like an interview. You never know. But, I am
old. So, I have had
to apply and interview for many different positions in my lifetime, and I
thought by now that I would have this down.
But as it turns out, Carrie had several ideas that could streamline and
increase the effectiveness of my resume and also my interview skills.
First we started by taking a look
at my resumes, YES, resumes… plural.
I have three different resumes because there are several different
fields that I am applying to jobs.
My degree here at Memphis College of Art will qualify me to work in a
position as a university professor in Painting and foundations. And, I am interested in gaining
that experience to teach different classes, but I also am interested in curatorial
or writing positions. Carrie had
some ideas about arranging my experience in a RELATIVE experience and also
OTHER experience type format so that each employer would have easy access to
what is most pertinent to the job that I might be applying for. I would really love to have a good job
doing something exciting and creative after school too, so I am working on
gaining the knowledge to qualify for such a position. There are so many options.
Carrie also decided she would go
ahead and run through a mock interview with me while we were there and she
asked a lot of open ended questions in the interview. She likes to ask broad questions, as employers like to do
the same thing. It is sometimes hard
to find the right amount of time in responding so you don’t seem unenthused but
also so you don’t just babble on and on and on about things.
The meeting was good and very
helpful. Carrie is wonderful and has helped me a great deal in preparing for
interviews and the application process.
I really appreciate all that she does here at MCA.
Final Cut Pro Notes
The big folder is the same as your scratch disk.
All your files need to live in that one big folder.
All the files that you are using for FCP should not be
rendered to H264.
Once you have all of your files correct codec and together
in a big folder
OPEN FINAL CUT… It’s important to only run Final Cut as it
is function intensive
It will immediately ask for a deck…. CLICK CONTINUE….
If you get an ERROR at this time, then you want to “reset
scratch disk”
Then assign YOUR OWN FOLDER. You have to tell Final Cut to Quit your project:
You cannot just close Final Cut… or your project will pop up
when it reopens.
File
New Project
Window
Arrange
Standard
Then save the untitled project… there should only be one
project open that says “untitled project 1”
Go File
Save Project As
then save that to your folder. Now you will see in the folder a FCP project
file. This is now your editing
decisions…. It doesn’t include all the files associated with it. This is why we established the scratch
disk.
The First thing you need to do when you open up
Final Cut Pro
System Settings
Then set your scratch disks….. click “Set” in the Upper
Right and then go to the folder where you are working. YOU MUST DO THIS AT THE BEGINNING EACH
TIME YOU OPEN FCP because somebody before you has been using a different
folder.
REMEMBER: At the beginning hit shift Q and make sure that
your scratch disks are set to the appropriate folder.
The Next thing you want to do is import the files that OR
the folder that you wish to work with.
You can
By default FCP will open up a sequence. You need to make sure that the sequence
settings match up.
If they do not.. highlight the sequence, then go to Sequence
Settings and change it to animation or whatever so all files and the Sequence
are the same. EVERYTHING
SHOULD MATCH UP!
The Next thing you want to do is start editing
The best way is to highlight the clip and double click… . it
will pop up in the middle window.
As you move along, the upper right corner will show you the time
that have moved. Because you have not marked in and out
the time will adjust.
There are three tabs in the middle window. The video you would like to “Fit to
window’
Sync you want to leave off
The third has many many options. And you want to have it set
to image. Title safe bar can be
turned off and on while editing.
The final button is show excess luma. Which will keep you in the parameters
for legal broadcast.
J K and L are the backwards forwards and stop keys. Double clicking on L with make it move
fast
Other keyboard shortcuts…. If you use the right and left
arrow key it will move you one frame… adding shift will move you by the
second.
To mark in and out on a clip: I for in and O for out. If I want to go back to any point you
can use the UP arrow. If Option I
and Option O will remove the markings.
If you would like to have more than one clip from the same
clip, you can go to Apple U and it will create a sub clip (or a copy of the
original clip) and
The top right window is the canvas, which is a
representation of your sequence or timeline. There are many ways to bring to the timeline. You can drag and drop and you can cliek
the red yellow or blue buttons. You should look at the direction of the arrow
when you drag the clip down. Red
means and overwrite edit (when pointing down) Insert edit will move things aside, the yellow edit will
move aside, the red will OVERWRITE.
Apple plus and minus will zoom you in and out when you are
editing.
The timeline indicator in the bottom left shows you where
you are.
In the upper right hand corner is the ripple sequence
marker.. don’t use.
There is a button to disconnect the video with audio… as if
you wanted to flash to a reaction. SHIFT L will also unlink the video with the audio. This unlinking is called and L
cut.
The tool palette is down on the right side. The tools are selection A … blade
tool B and track tool T. A
selects… the next one is a track select you can highlight and shift click to
select.
Numeric delete will delete and close the gap, a regular delete will only delete the
clip or the gap… one thing at a time.
If you mouse in between two clips and if you select the gap
between and then double click you will get a trim edit window to pop up.
If you only want to change the one of the left, you will
highlight the window that you are wanting to adjust, if you want to watch how
the edit is working, you can watch it on a loop.
On the very bottom of the timeline there are items that you
can click on…. You can click on here.
Show audio wave forms is a useful function that is listed there. You can also change the size of your
video in the area. You can change the size of the timeline.
The toggle click overlays… will provide a black line and you
can edit the opacity/brightness of your clip, or you can highlight the pink
line if you want to edit your audio.
When you are done with your video…. All you have to do is go
to save project and the CLOSE project and the quit
Monday, April 22, 2013
So
Demo Reel-Vimeo HD Encode from Thomas Green on Vimeo.
.... here is my first demo reel. I didn't include anything from last semester because I really wasn't that big of a fan of my work in that class and I was just getting started. I also added in some music that I composed during the semester using the "garage band" software. SO MUCH FUN!Tuesday, April 16, 2013
Internship Research
-->
Internship Research:
I have done
extensive research in finding a summer internship. A lot of the internship possiblilities have been
found using College Art Association CAA.org or I have done specific research
based on institutions in a given area and/or I searched based the reputation of
specific institutions.
I have applied to
over a dozen institutions in the curatorial field (mostly), but also I have
applied with the Seattle International Film Festival as a writer and Seattle
Stranger working as a photography intern.
I have sent resumes to the Henry Art Gallery (part of the University of
Washington) where I have seen several film and video installation
exhibitions. While I was traveling
out to Seattle this spring, I was able to meet some of the people that work at
the Henry Art gallery and discuss with them the photography exhibit and video
installation exhibit that is currently being installed. This exhibit is wonderful in the idea
that artists, like Pipilotti Rist, have generated entire environments by
filling entire (small gymnasium) sized rooms with video.
I
collated materials and packages together for a curatorial event planning
position at The National Gallery in Washington D.C., I have also sent resumes
and hiring packets to The Foster White Gallery in Seattle and sent numerous
other letter requesting information or asking about the possibility of a summer
internship. I also found a great internship
opportunity with the MoMA, but had missed the deadline. I also found the Andy Warhol Museum
offers internships.
I have applied for a summer
internship working in the curatorial department with Seattle Art Museum,
Olympic Sculpture Park, and also as a teacher with the Frist Center for the
Visual Arts in Nashville Tennessee.
I have been interviewed twice and am expected to drive to Nashville next
week to interview in person. I have collated a package for consideration to a studio
residency programs with the Whitney Museum in New York.
Although
I have not been formally extended an internship or invited on board with any of
the institutions that I have been applying with, I am keeping my fingers
crossed that something will come up soon.
Carrie Brooks has been instrumental in helping me to improve my resume
and also drilling me with specific
questions that might be asked during an interview.
Thursday, April 11, 2013
DEMO REEL RESEARCH
The breakdown for a demo reel pretty much goes like this. There are lot's of do's and don't of the demo reel but basically it boils down to:
1. Make it short. Don't jumble it up with lots of stuff. It's a bit like a pitch line.
2. Include a good variety of different work that highlights what it is that you do.
3. Make sure that it is your best work. Why would you want to include something you almost did well to a possible employer????
4. The music isn't all that important.
$. Nothing gross or weird. Make it presentable as if you were going to be present in an interview when the people watch this video. You are not trying to get a show at the Whitney after all. So... BE PROFESSIONAL!!!
There are some really funny demo reels out there. this one is great for a good laugh. It made me laugh anyways. It's not a great demo reel. First, the dude's animation/cinema work isn't anything to write home about, and second, the music cusses a lot. It's very juvenile, and so, that is probably why I laughed at it.
Ian Pfaff's Demo Reel from Ian Pfaff on Vimeo.
Here is another one demo reel. this one is very long, but there is a great multitude of awesome footage and work from some Television and commercial work. The music is not offensive and seems to be okay, but I hate the music for some reason. could be just my taste preferences.
Branit|vfx 2009 Reel from BranitVFX on Vimeo.
Here is a wonderful (and very LONG) cinematographer's demo reel. this one is done with super wide screen. The music is totally freaky, but then again, so is the imagery, so it has a nice flow.
Director | Cinematographer REEL from Elliott Sellers on Vimeo.
Here is another professional demo reel that seems to work well. It is short and sweet, (only a minute and a half). Although it doesn't have the widest range of variety, it does have a lot of good work and the music doesn't seem to weigh too much. I would love to have something about half this long.
2011 Demo Reel from Daniel Oeffinger on Vimeo.
Tuesday, April 9, 2013
Monday, April 1, 2013
Materials and images for the final project.
FORMS:
here are the initial layers of spray foam insulation on the circles that I've cut. The circles will float away from the wall and I will either sand (cut away) into the forms or I will build them up even more. I want to spray paint them so they have some affect on the colors.
I made this silly bubble video: I think some transition or dissolve like this might actually be really cool.
 Here is a link to a video about growing bacteria in a petri dish. I have had to call the company where I ordered materials and request another because my petri dishes were broken when the box was sent here. I was very disappointed, but it will be awesome when it happens.
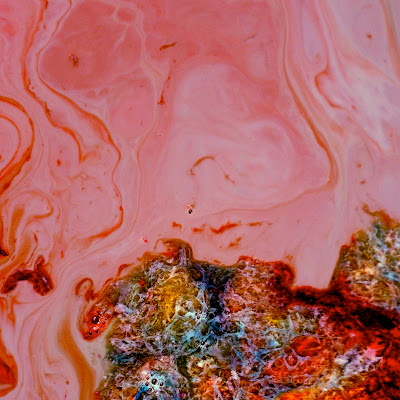
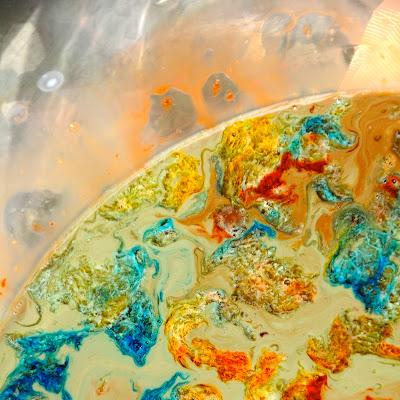
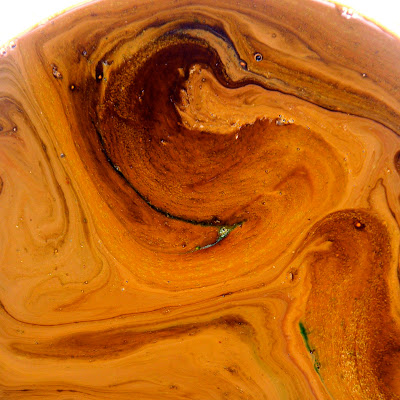
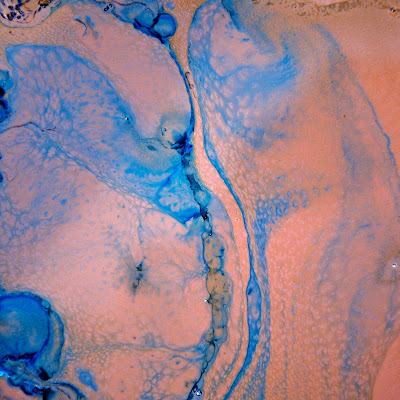
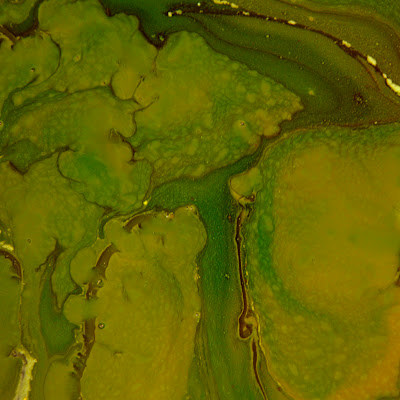
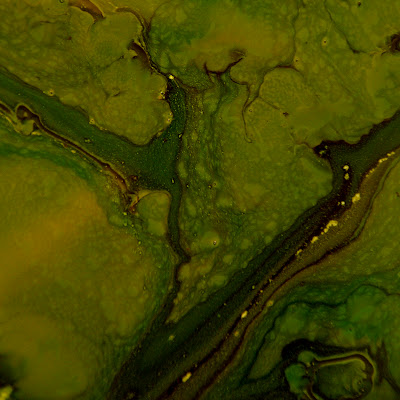
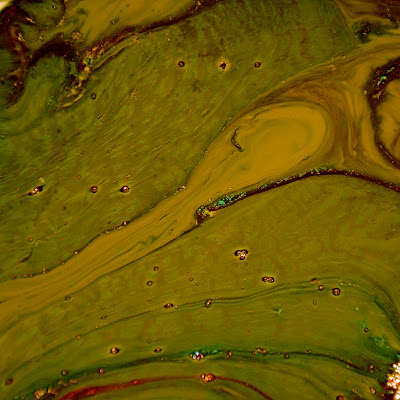
Here are some of the images that I will be animating from the experiments with dye and milk. When my old school overhead projector is fixed, I intend to do another run with the materials and hopefully get some compelling motion video that can be animated or surged into the animations.

Subscribe to:
Comments (Atom)


